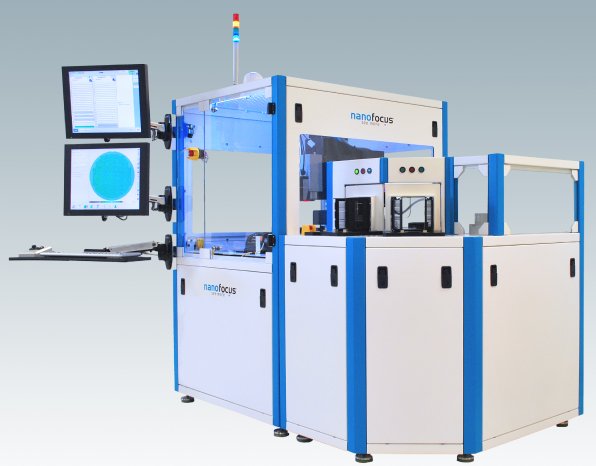
Reliable measurement data provides information about the product quality which is necessary for controlling production processes. The fully automatable confocal 3D surface measuring systems of NanoFocus can be integrated directly into production lines for 100%-control. They can also be implemented near the production lines for sample inspection (single or serial measurements).
Customer-specific measurement strategies and complex evaluations can be easily configured with the NanoFocus automation software µsoft automation. Measurement results can be directly transferred to pre-defined evaluation protocols or exported to further relevant software via various data interfaces (i.e. SECS-GEM interface). Result data is available for nominal/actual comparison or can be exported for further analysis to qs-STAT, Matlab, various data bases or SPC-charts. Industrial requirements are fulfilled by functions such as wafer map import or OCR/DDM/Bar Code Reading.
In serial measurements no user intervention is required thanks to features such as fiducial recognition, automated alignment and measurement range tracking. Measurement data and analyses are permanently stored in an analysis library and are available for statistical process control and an optimized documentation.
NanoFocus successfully supplied automated measurement systems to renowned manufacturers in different industries. Amongst these are systems for fully automated wafer inspection in semi-conductor manufacturing, serial control of joint implants and dental implants in medical technology and the measurement of micro-welding and critical surfaces on automotive components.


