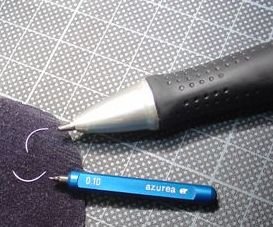
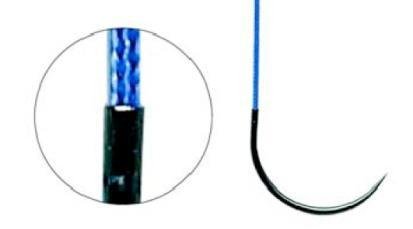
The distinguishing feature of these microsurgical needles is that the needle/thread combination, despite the use of two different materials (metal/fabric), has to merge seamlessly, maintaining a consistent diameter, so that the needle cavity is completely filled with the suture thread.
The machines used by Johnson & Johnson MEDICAL GmbH in Norderstedt drill the holes, into which the suture thread is later inserted, using a laser.
The base of the needle is lasered, leaving a hole approx. 0.11 mm in diameter. The thread is manually inserted into this hole at a later stage in a cleanroom setting before the needle and thread combination is sterile-packed as a single unit. Up to now, in order to ensure that the suture thread was firmly attached, the diameter of each lasered hole was inspected manually with the help of gauging tools.
To date, it has not been possible to automate this time-consuming quality-control task as, although the previous solution was able to provide images of the laser process, the resolution and brightness of these images was, however, not good enough to ensure a sufficient level of measurement accuracy.
The aim was to automate the diameter inspection process without altering the already optimized production process.
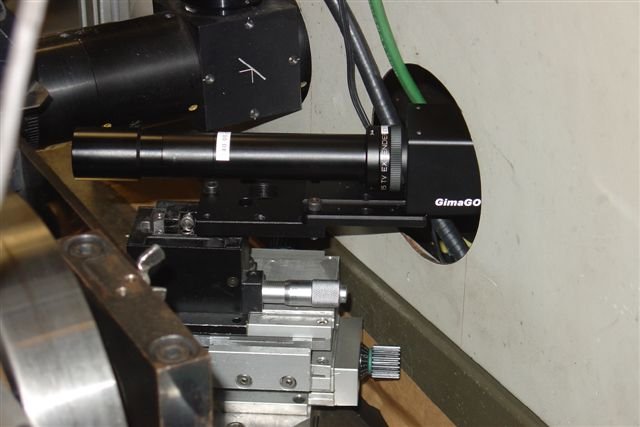
The production of two needles per second allows the camera an exposure time of only approx. 30 microseconds during which the needles remain stationary. Within this short period of time, an image with a resolution of 0.002 mm in a 0.22 x 0.22 mm image field (this is equivalent to a nine-fold optical magnification) has to be captured. In addition, despite the high degree of magnification, it was necessary to maintain a working distance of 100 m and, at the same time, the depth of field had to be as great as possible. The alignment of the new components no longer allowed the camera to be coupled into the laser beam path so that it perpendicularly faces the base of the needle, but it was now only possible to view the needle base at an angle of approx. 30°. A relatively large depth of field was necessary to produce a continuously high-resolution image of the hole made by the laser drill.
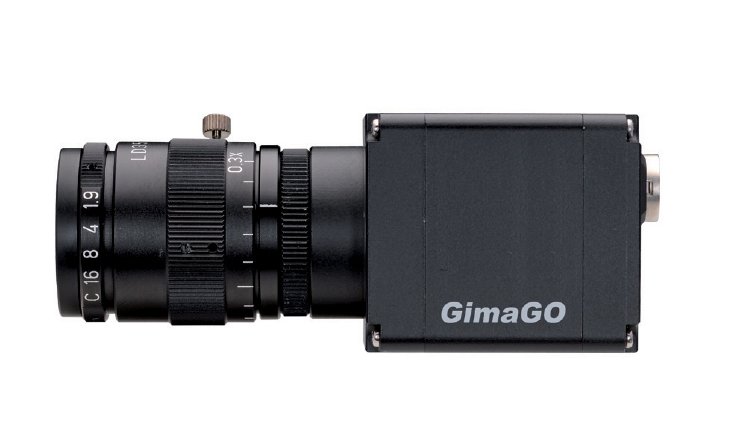
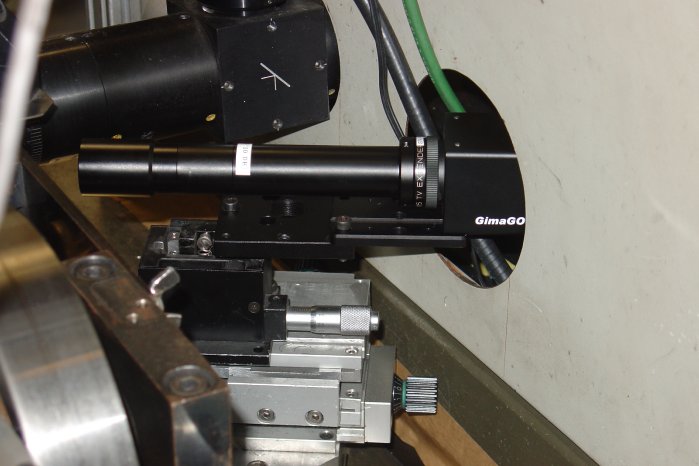
According to precise instructions and based on detailed knowledge of the application, NET New Electronic Technology GmbH provided a monochrome Gigabit Ethernet Camera (GimaGO 433B) and a telecentric lens (TCH6-110) with a 1.5x megapixel converter for testing purposes.
With its 1/2" CCD Sony Chip and a pixel size of 4.65 x 4.65 ?m, the GimaGO 433B camera is sufficiently photosensitive and can achieve the necessary resolution. The telecentric lens from the TCH series produces a high-contrast image. (The higher the resolution of a lens, the shallower the attainable depth of field. The TCH series is optimized to provide a maximum depth of field even at a high resolution.)
These were the necessary requirements that enabled the company Krempien and Petersen in Hamburg to implement an automatic analysis system based on Cognex Vision Pro Software. A specially developed user interface makes it easier for the machine operator to adjust the various settings and the general viewing options.
