Expansion of the performance range
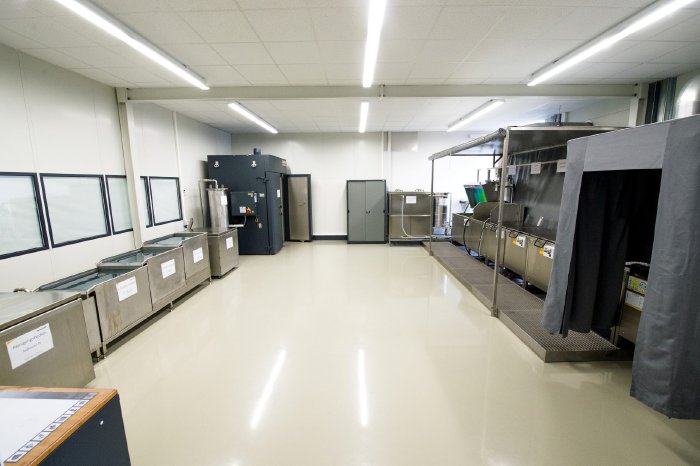
On an area of 105 m², Toolcraft can now offer the opportunity to check components using a non-destructive method for cracks, overlaps, folds, pores and binding errors in the surface. The process is predominantly used on metallic materials, although it can also be applied to other materials such as ceramics - assuming the surface is suitable for testing with penetrants. The system itself occupies an area of 75 m². Great emphasis was placed on cleanliness when building the crack detection system. The system and all equipment are made from stainless steel. As a result of its properties, this material is ideally suited for crack testing, because substances with elevated pH values are used. Harmful, flammable and volatile substances are employed, as a result of which the entire area is strictly monitored and is just allowed to be entered by specialist personnel during the entire test procedure.
Crack detection - effective at the same time as being kind to the environment
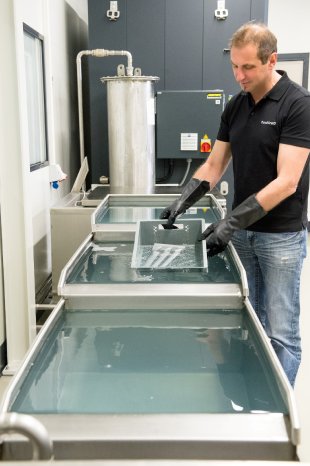
Each testing process starts with preliminary cleaning of the components in an alkaline bath. Following this, the alkali is washed off again in a three-stage bath cascade using demineralised water. To protect the environment, an activated charcoal filter continuously filters the process water and prepares it for further cleaning processes. Furthermore, Toolcraft has installed an additional water treatment plant. This filters the water required for the process itself so it can be reused in further test procedures.
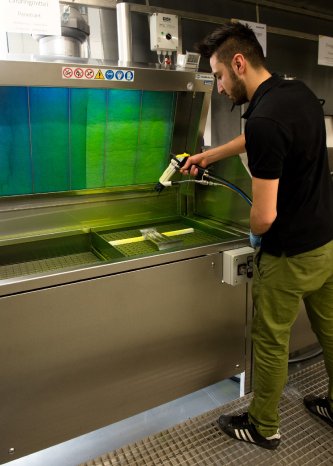
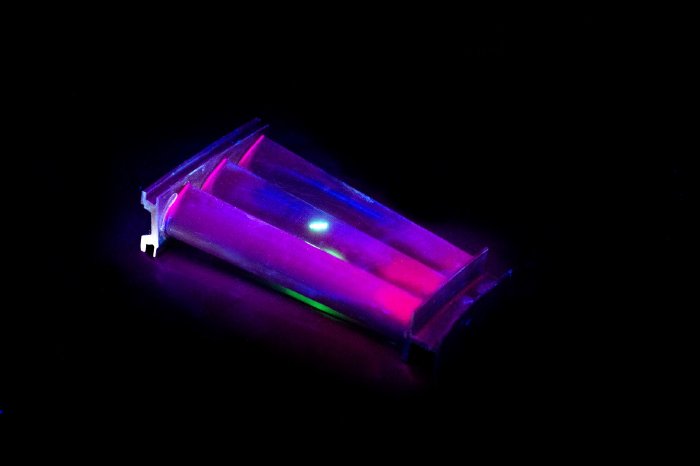
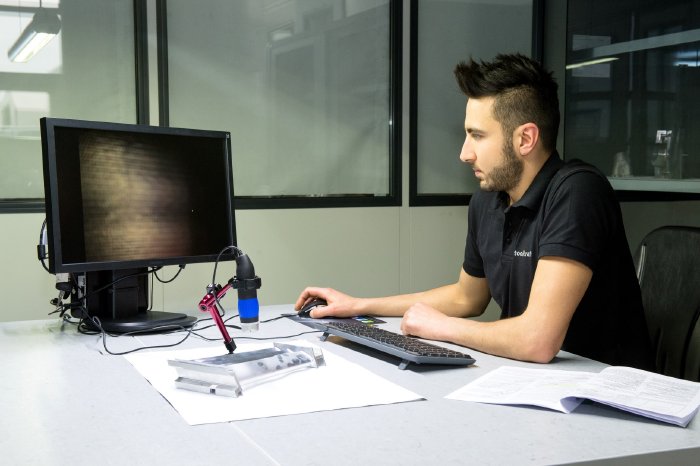
Once the fluorescent penetrant has been applied by an electrostatic method, the component undergoes intermediate cleaning. Following this, it is immersed in an emulsifier bath in order to partially dissolve the penetrant. Immersion in the water stop bath is used for finishing the process. The testers apply a dry developer before assessing the component. This picks up the penetrant remaining in the defects and shows it up under UVA light. Even microscopically small cracks are revealed in the evaluation cabin; these are cracks which can have a decisive effect in aerospace applications.
Verifiable quality - strictly monitored
The highest standards are met during the test procedure. In addition to a re-emulsifiable material on quality level 3 (high) being used, top priority is given to regular monitoring of the test instruments. Furthermore, before the start of each test procedure, a sample plate is put through the entire process. "Check cracks" have to be found on this. Only if all four stars are identified under the UVA light at the end of the test, the quality test of the actual component can start. Any existing defects are documented according to the highest quality standards, and exclusively by qualified specialist personnel.
