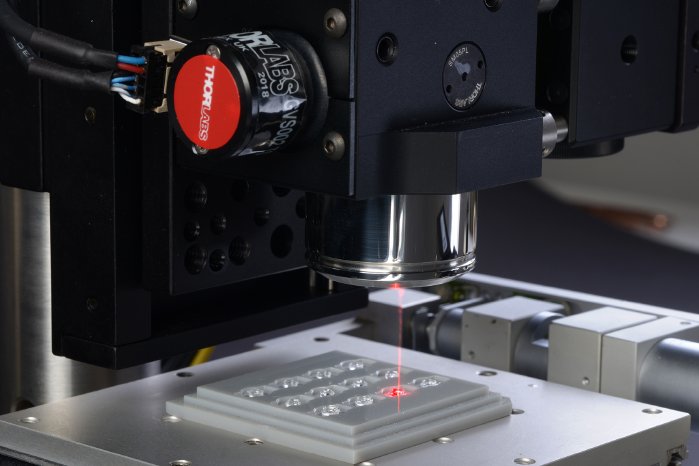
The new method is based on optical coherence tomography (OCT) and can capture both functional surfaces of an optical system simultaneously in one single scan. In this way not only the surfaces can be characterized, but also the alignment of the functional surfaces to each other can be checked. The process is also capable of characterizing spherical and aspherical lenses as well as free-form surfaces.
During the exhibition, the Fraunhofer IPT will be presenting its OCT-based inspection system for geometrically complex polymer microoptics at its booth in hall B1, booth 653. The new measurement system offers manufacturers of sensor technology and imaging systems an efficient and cost-effective way of quality assurance: Since the system can determine the shape and centering of both functional surfaces in just one single step, it delivers a result in shortest time that cannot until now be achieved so quickly and accurately with any conventional optical measurement method. The Fraunhofer IPT is now planning to fully automate the tomographic process so that in-line integration into existing optical production lines will become possible.


