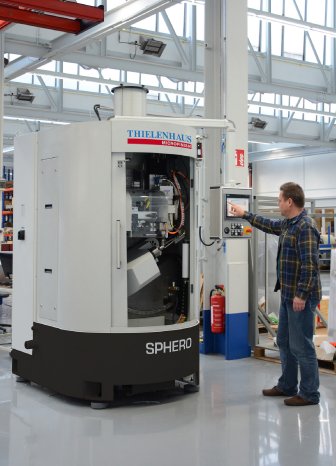
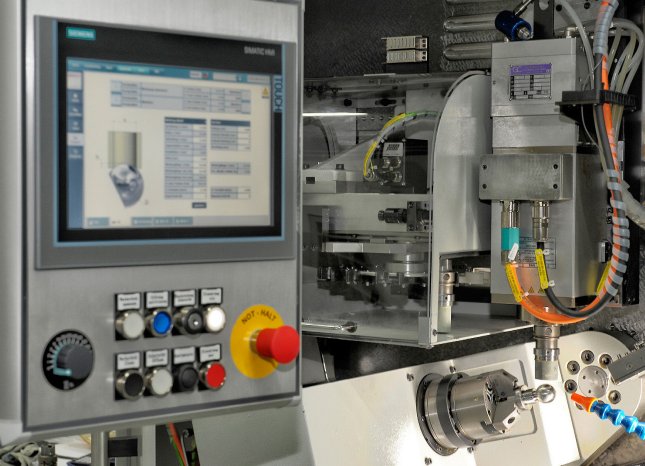
The chuck unit is mounted vertically and easily accessible for fast changeover. Thanks to the integrated tool changer with a capacity for up to ten tools, even complex machining processes can be carried out in a single clamping.
The design of the Sphero incorporates the experience of many years of test and production work. Workpieces with diameters of up to 75 mm can be machined. The machine has a small foot print and a modern, compact and ergonomic design. It is used, for example, by medical technology manufacturers to produce hip balls and calottes or in the automotive industry for machining the joint heads of wheel suspension and steering components that require a high level of freedom and movement for the associated assembly units. Metallically-sealing valve balls and seating rings for valves in the chemical industry, through which aggressive or very hot media travel, are able to be machined with a high degree of dimensional and surface accuracy. Another instance is the axial piston pump found in all fields of hydraulics: It has a spherical sliding surface at the end, and the dimensions of this component must be accurate to 1 µm or less in order to guarantee safe operation at great strain – such as in aviation.
This machining concept enables machining of surface topography, spherical roundness, spherical diameter and sealing surfaces. Furthermore, defined contact ratios that fulfil tribological requirements are possible. In just a few installation steps that take only a very short time, the operator can convert the machine from outer machining to inner machining, i.e., from a ball valve to a sealing ring or a socket. Required operator input is reduced to a minimum and errors due to repeated handling and clamping are ruled out, since the workpiece remains in the chuck until it is completely finished. This guarantees a continuously high quality level and a well controlled process.
Since this machining solution allows the implementation of several tool qualities, the machining process can, for example, be broken down into roughening and smoothing, fine finishing and polishing. The tool change takes place in just a few seconds with the added benefit that the workpiece stays in the clamp. Since the process takes place on a self-correcting basis, truing cycles are not required. This means that better end results can be achieved with short cycle times. Thanks to the MicroSens sensor with workpiece contact detection, the machine monitors the set parameters automatically on a continuous basis and makes any necessary adjustments.
More information can be found at: Thielenhaus Technologies GmbH, PO Box 201855, 42218 Wuppertal, Germany, Telephone + 49 (0)2 02 481-0, Fax + 49 (0)2 02 45 04 45, or at www.thielenhaus.com


