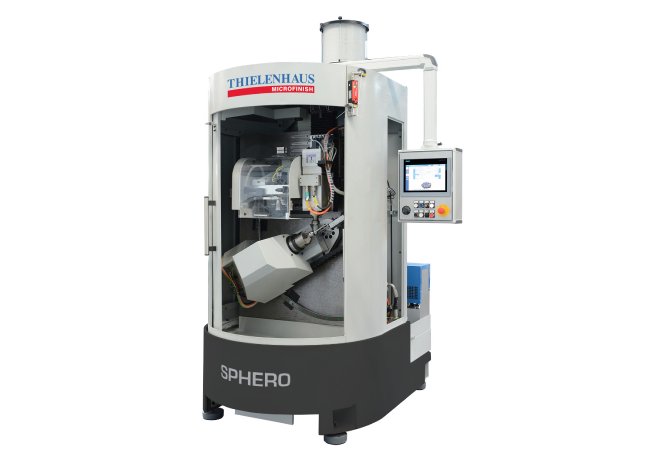
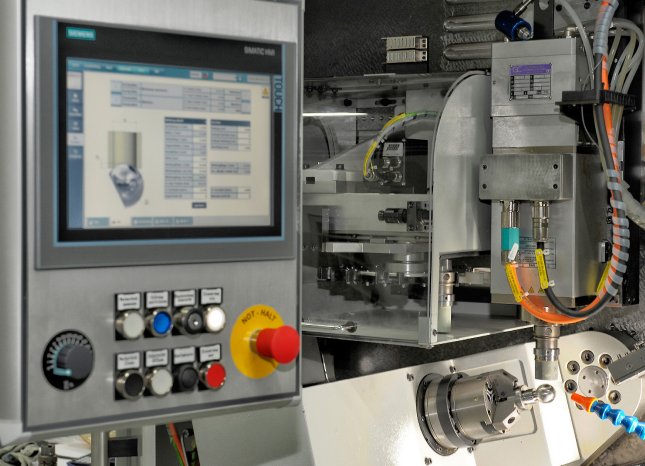
The workpiece unit is mounted vertically and easily accessible for fast changeover. Thanks to the integrated tool changer with a capacity for up to ten tools, even complex machining processes can be carried out in only one clamping process.
The trial machine is based on one that was previously used for the manufacturer’s subcontracting work. It is also equipped with QuattroClean CO2 snow-jet technology, which enables the workpieces to be cleaned using an environmentally friendly, dry and residue-free method. After cleaning, the machined component is subjected to a scattered light measurement procedure that allows, e.g., the shape or the gloss value to be precisely determined. If a measurement value is not yet satisfactory, the component can then be put through another machining step in the same clamping procedure.
Workpieces with diameters of up to 75 mm can be machined on the Sphero. The machine’s construction is highly space-saving and is characterised by a modern, compact and ergonomic design. It is used for example in the automotive industry for machining the joint heads of wheel suspension and steering components that require a high level of freedom and movement for the associated assembly units. Metallically-sealing valve balls and seating rings for valves in the chemical industry, through which aggressive or very hot media travel, are able to be machined with a high degree of dimensional and surface accuracy. Another instance is the axial piston pump found in all fields of hydraulics: It has a spherical sliding surface at the end, and the dimensions of this component must be accurate to 1 µm or less in order to guarantee safe operation at great strain – such as in aviation.
This machining concept enables machining of surface topography, spherical roundness, spherical diameter and sealing surfaces. Furthermore, defined contact rations that fulfil tribological requirements are possible. In just a few installation steps that take only a very short time, the operator can convert the machine from outer machining to inner machining, i.e., from a sphere to a sealing ring or a socket. Operator influence is reduced to a minimum and errors due to repeated handling and clamping are ruled out, since the workpiece remains in the clamp until it is completely finished. This drastically increases process reproducibility.
Since this machining solution allows the implementation of several tool qualities, the machining process can, for example, be broken down into roughening and smoothing, fine finishing and polishing. The tool change takes place in just a few seconds with the added benefit that the workpiece stays in the clamp. Since the process takes place on a self-correcting basis, truing cycles are done away with. This means that better end results can be achieved with short cycle times. Thanks to the MicroSens capacitive sensor with workpiece contact detection, the machine monitors the stipulated parameters itself on an ongoing basis and makes any necessary adjustments. The integrated measurement and cleaning process ensures that the workpiece is quality-controlled prior to being unclamped.
More information can be found at: Thielenhaus Technologies GmbH, PO Box 201855, 42218 Wuppertal, Germany, Telephone + 49 (0)2 02 481-0, Fax + 49 (0)2 02 45 04 45, or at www.thielenhaus.com


